Installing a new water heater in your home is something you will have to do someday. Your reason for wanting a new water heater may be that your current water heater has stopped working or it no longer meets the needs of your household, says Indianapolis Specialized Property Management.
To install a new water heater, you have two options. You can take the easier route of hiring someone to do the installation. Or you can take the more satisfying route of doing the installation yourself.
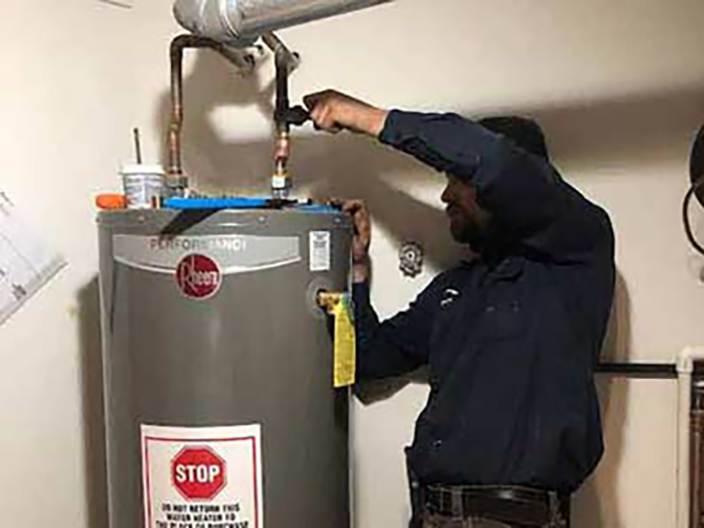
If you are thinking of installing your water heater by yourself, understand that installing a water heater is not as daunting as it appears. If you carefully follow our step-by-step guide below, you will have your water heater up and running in no time.
Tools and materials needed when installing a water heater
Most of these are tools and stuff you already have in your home or things you should have in your home. Do not start the installation unless you have everything listed here. That way, you will avoid delays and interruptions while making the entire experience more enjoyable.
- Adjustable wrench
- Pipe wrench
- Hacksaw (to cut pipes if necessary)
- Teflon tape
- Pipe joint compound
- 5-gallon bucket
- Pipe cutter
- Flashlight
- Leak detection fluid
- Extra connectors, valves, or fittings
- Drill screwdrivers and pipe cutters
- PPE: gloves, eye protection and close-toed shoes
Simple step-by-step water heater installation guide
- Shut off the power and water supply
To prevent electric shocks, turn off the power at the power breaker or the fuse. To stop the water supply to your water heater, close the valve on the cold water supply line near the inlet fitting of the appliance.
- Drain the water heater
Place a bucket under the drain valve at the bottom part of the tank. Alternatively, attach a hose to the drain valve and extend its other end to a discharge point or into the bucket. Open the drain valve and let the tank empty out.
- Disconnect the water lines
Using pipe wrenches, detach the cold and hot water lines from the water heater. Have a bucket ready to catch any water that spills from the pipes. After disconnecting the pipes, cover their openings with clean rags to keep debris from entering.
- Remove your old water heater
Some water heaters must be disassembled before you can remove them. Check the manual for instructions. Carefully slide the water heater out of its current position. Have a bucket ready to catch any water. If the water heater is heavy, ask someone to help you.
- Move the new water heater into place
If the new water heater can fit into the same place as the old one, slide it into position. Be aware of the manufacturer’s requirements for clearances and ventilation, as these can impact the operation of your water heater. After positioning the water heater, don’t forget to secure it.
- Reconnect the water lines
Reconnect the hot and cold water lines to the correct fittings on the new water heater. Double-check to ensure you didn’t make a mistake (consult the manual for the right positioning). For a tight seal, use Teflon tape around pipe fittings and pipe joint compound on threads.
- Install the TPR valve
The temperature and pressure relief (TPR) valve protects your water heater from excessive pressure and temperature buildup inside the tank. Screw the TPR valve into the socket provided and make sure it lines up with the discharge line.
- Restore the gas or power supply
If your water heater is gas-powered, before turning on the gas supply, check that the line is properly connected and not leaking. If the water heater is an electric model, turn the power on at the circuit breaker.
- Check the water heater leaks
Fill the water heater tank by opening the cold water inlet. Check for drips and leaks. If you find any, rewrap joints with tape and tighten the pipes. If you are uncomfortable with the results, redo the entire connection. You will save yourself from future troubles.
- Test your new water heater
After filling the tank and making sure you have the right settings on your new water heater, open a hot water tap to get rid of any air inside the line. Let the water stream over your hand to give you an idea of the temperature. Adjust the thermostat again if necessary.
And that is how you install a new water heater.
To conclude, please do not hesitate to ask for help if you get stuck. If you risk voiding any warranties by installing the water heater yourself, get a professional installer. Also, if the above process feels like much work, get a professional plumber to do the work for you.